Portfolio/Production

My proposal aims to design and develop an Augmented Reality (AR) storybook titled “Space Adventure”, which enhances children’s learning through immersive 3D storytelling. The main idea behind this project is to combine traditional reading with digital interaction, creating an experience that feels both educational and playful. The storybook is specifically designed for children aged 6–10, as this age group is highly curious, imaginative, and responsive to interactive and visual learning experiences. The project encourages young readers to explore the solar system while learning interesting facts about the planets in a fun and engaging way.

By using AR technology, the book allows planets objects to come to life when viewed through a mobile device. This interactive approach is intended to capture the attention of children aged 6–10, helping them stay engaged while supporting early science learning, reading development, and visual understanding.

Initially, I planned to develop the project using Unity as the main development platform, Vuforia for image tracking, and Blender to model and animate the 3D assets. Each page of the physical storybook would act as a tracked image (target image), triggering related 3D animations and educational content when scanned. I also planned to follow online tutorials to improve my technical skills and develop the project as an Android-based mobile application.

Software Usage

Throughout this project, I used a range of software tools that allowed me to apply both my graphic design knowledge and my growing technical skills in AR and 3D design. This project gave me the opportunity to combine multiple workflows into one cohesive outcome.

For 3D modelling and texturing, I used Blender. Having previous experience with Blender made the modelling process more efficient, especially when creating planetary models. I was able to quickly model the planets using simple geometric forms and apply textures to represent their surfaces accurately. This helped me focus more on storytelling and interaction rather than struggling with the technical basics of 3D modelling.

I used Adobe Illustrator to design several 2D visual elements, including graphics for the A5 storybook, the Android app icon, the front screen layout, and interface buttons. Illustrator allowed me to maintain clean vector-based designs that were visually suitable for children aged 6–10, using bright colours, clear shapes, and simple icons.

To implement the augmented reality functionality, I used Unity together with the Vuforia Engine, which was integrated as a plugin. Vuforia was used to create image targets, allowing each page of the storybook to trigger the relevant 3D models when scanned through the mobile application. To improve interactivity, I used Lean Touch, which enabled users to scale, rotate, and drag the 3D models, making the experience more engaging and intuitive for younger users.

Finally, I used Adobe InDesign to design and prepare the A5 printed storybook. InDesign allowed me to control layout, typography, image placement, and print settings, ensuring the final book was professionally presented and print-ready.

3D Modelling Phase

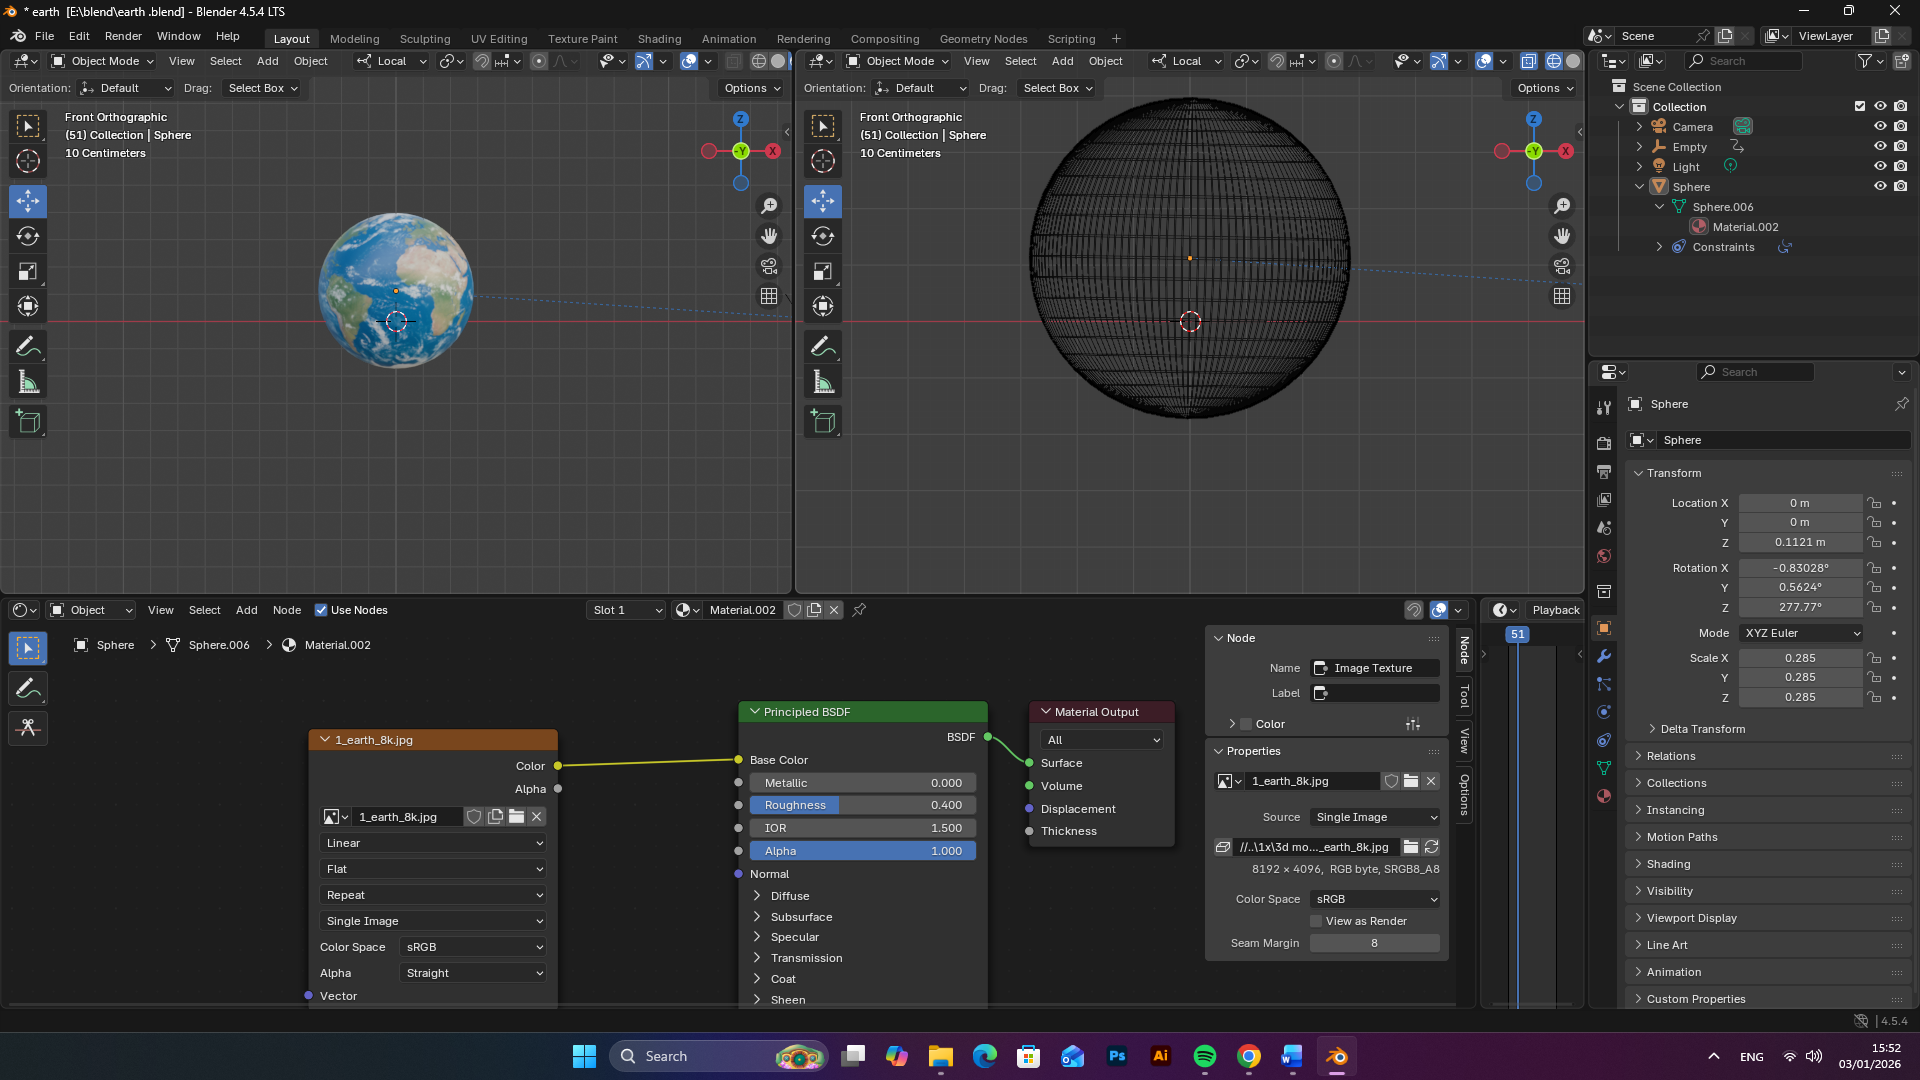
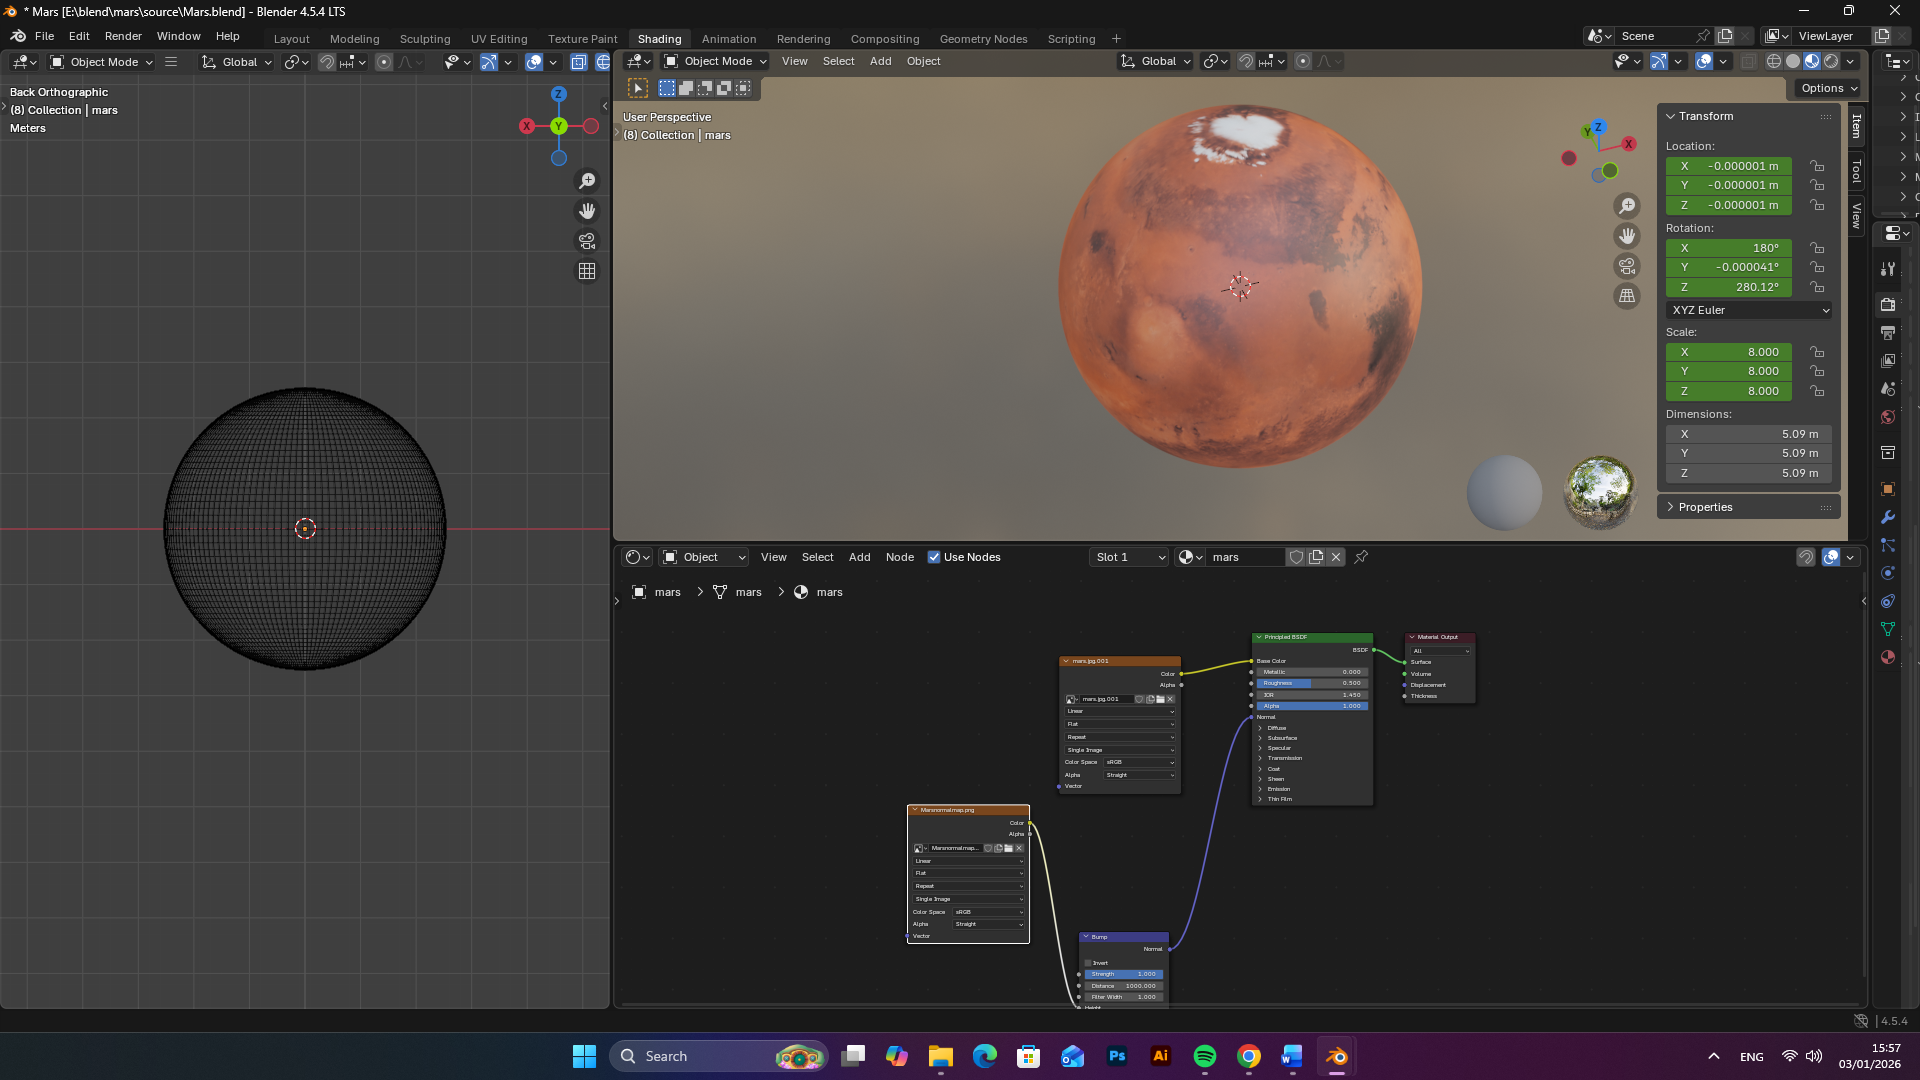
During the 3D modelling phase of the project, I focused on creating the main planetary assets for the AR storybook, including Earth, Mars, Venus, and Jupiter. As all planets share a similar spherical form, I followed a consistent modelling workflow for each model, with the main variation occurring during the texturing stage.

I began the process in Blender by creating a UV sphere, which provided an ideal base for all the planets. I kept the polygon count relatively low to ensure the models were optimised for real-time performance on Android devices, which is essential for AR applications.

After creating the base geometry, I carried out UV unwrapping to prepare each model for texturing. Clean and well-organised UV maps helped prevent texture stretching and ensured that the surface details appeared correctly once the textures were applied.

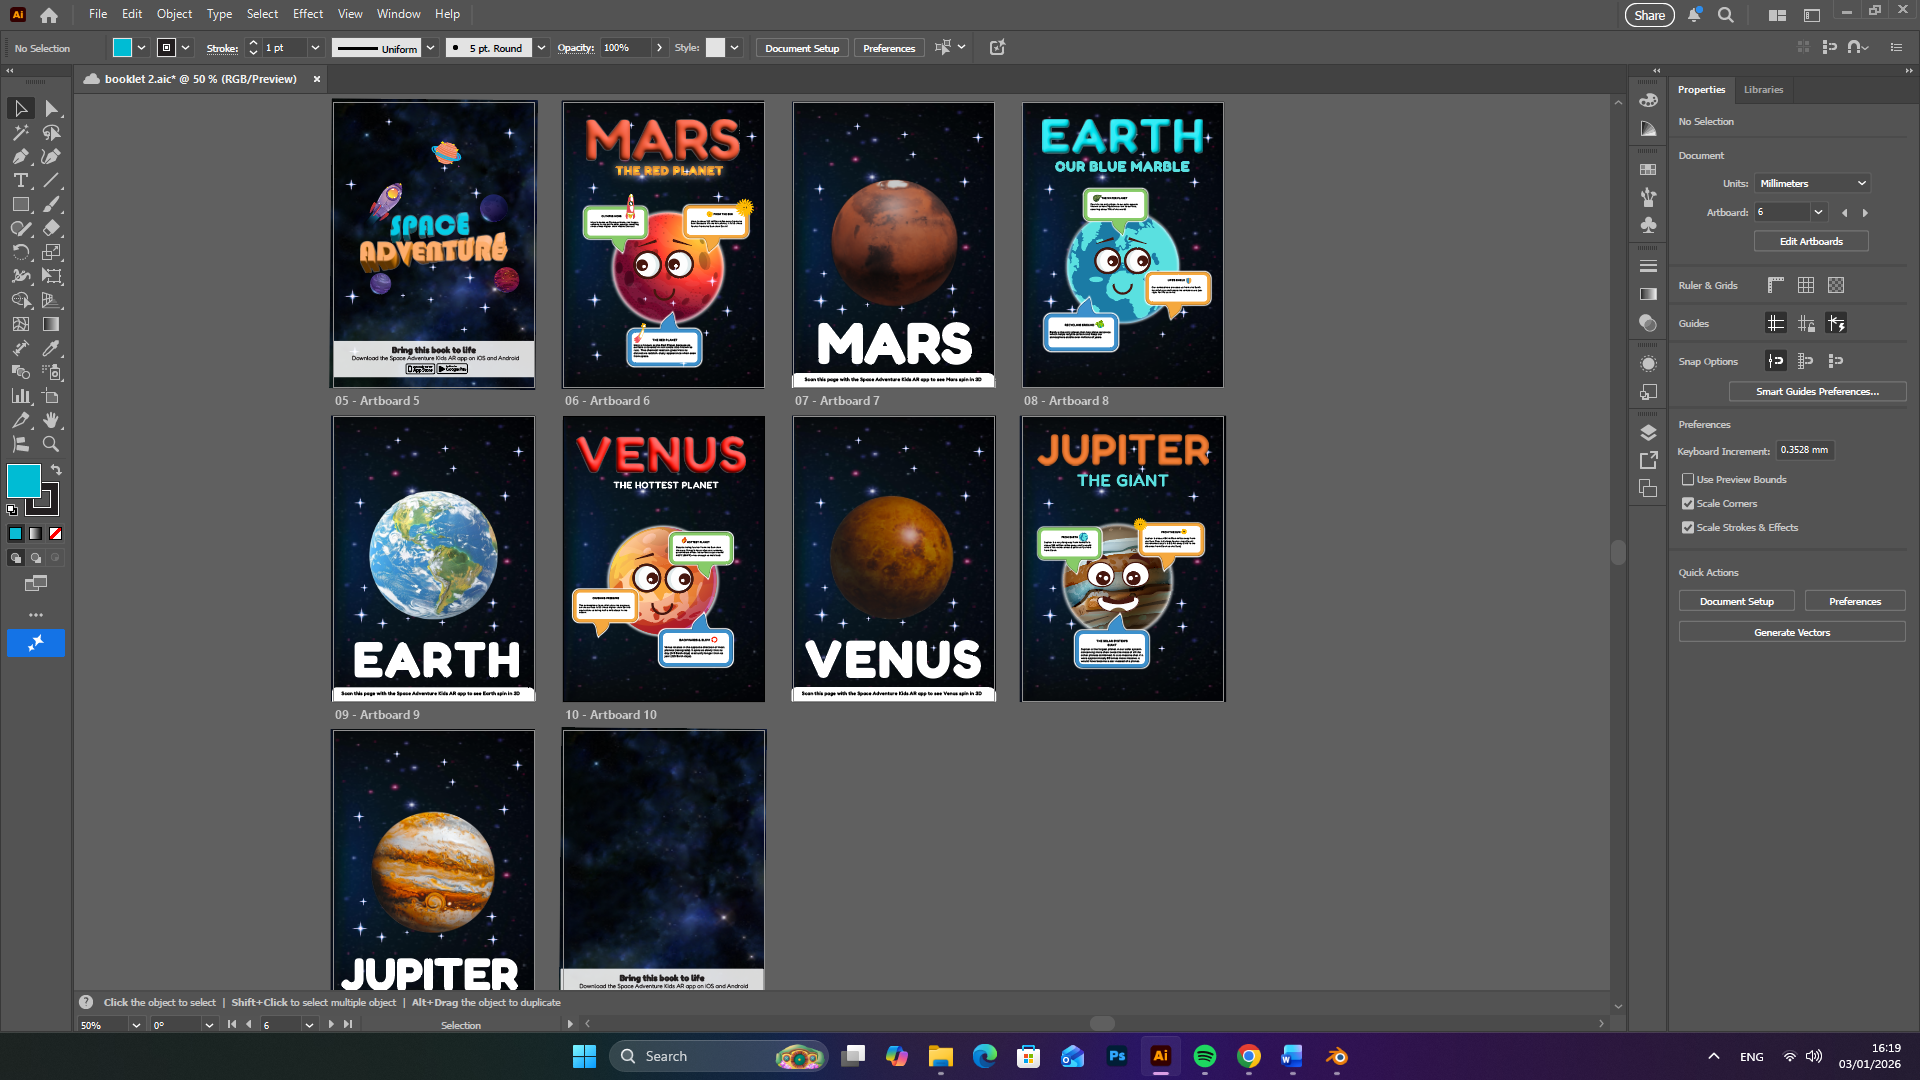
The main visual differences between Earth, Mars, Venus, and Jupiter were achieved by applying different planet-specific texture maps.

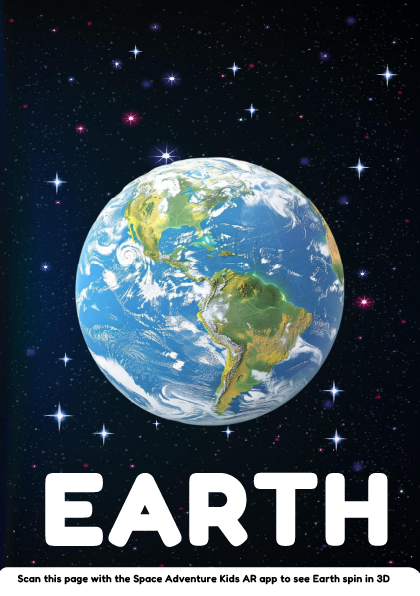
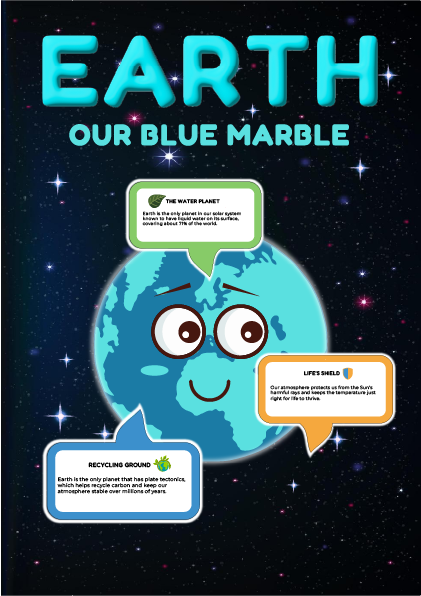
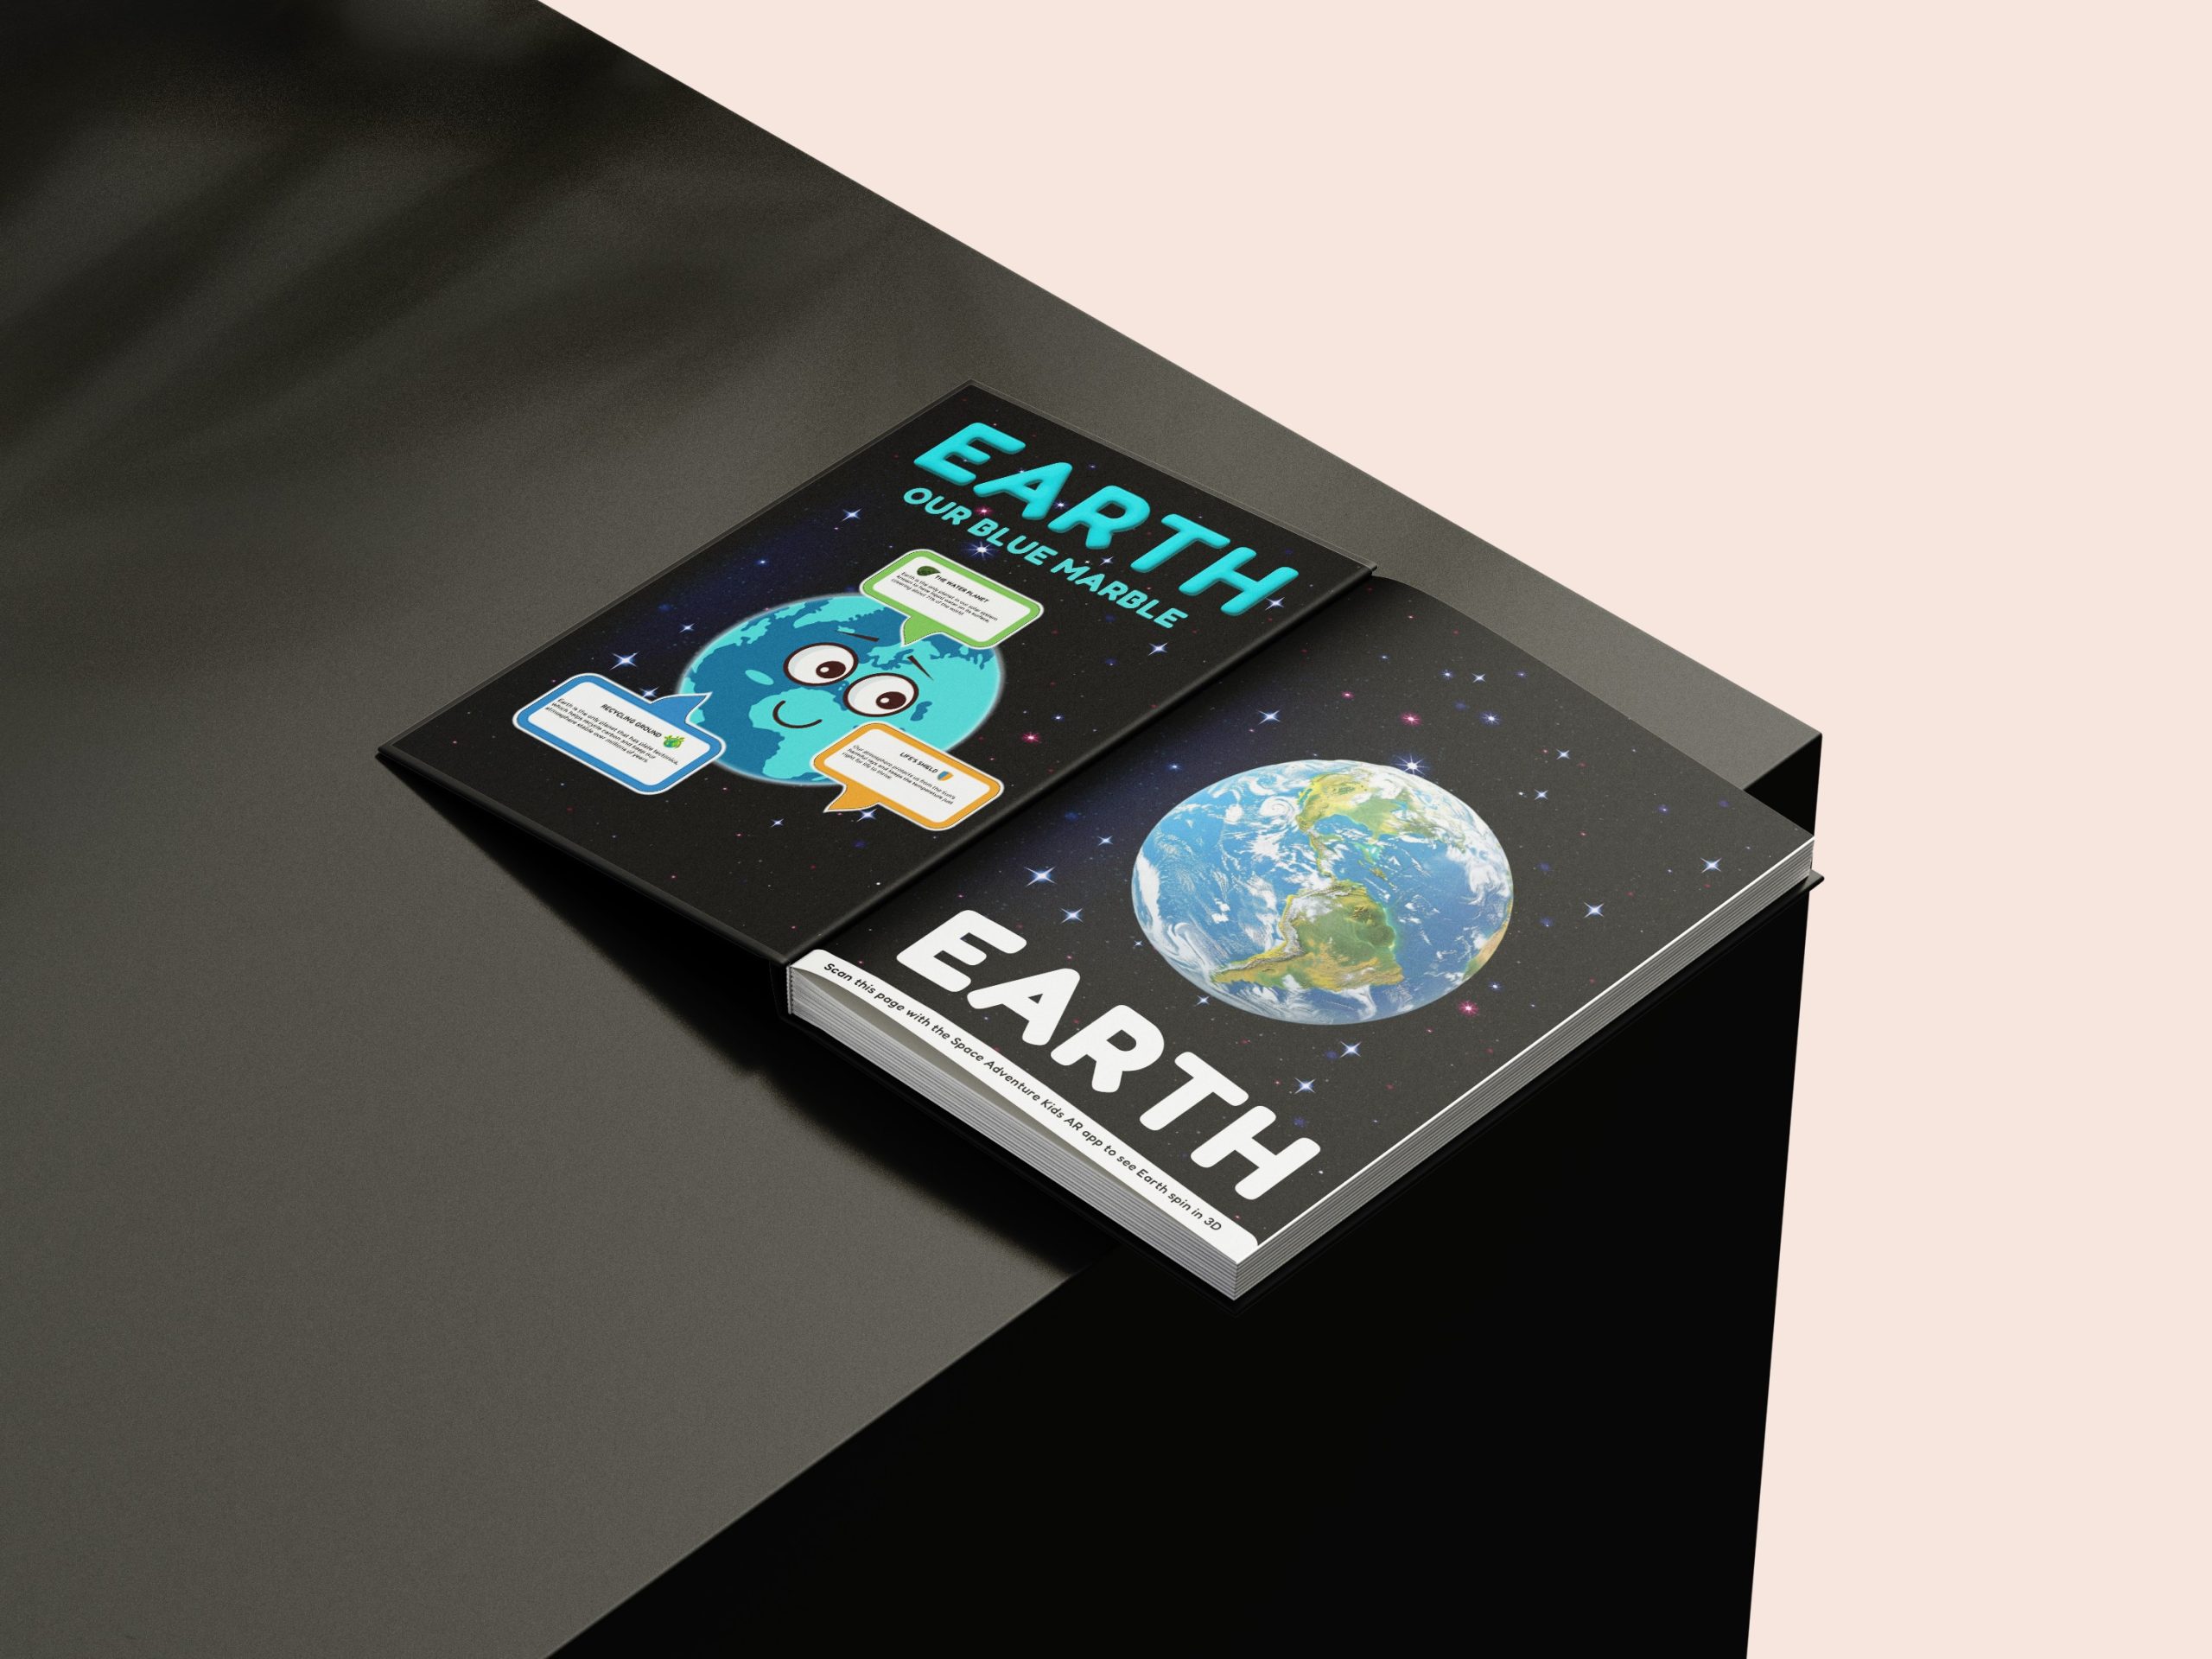
  • Earth included textures showing oceans, continents, and cloud details.
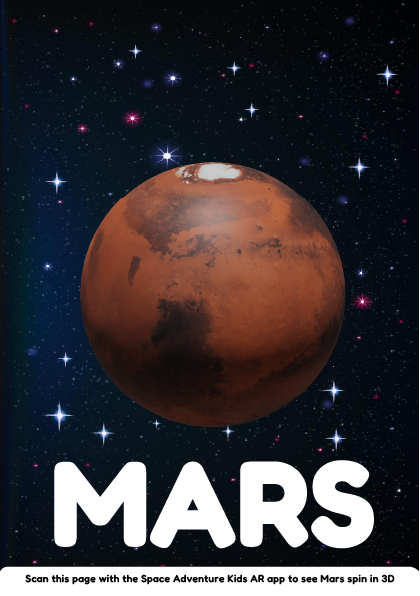
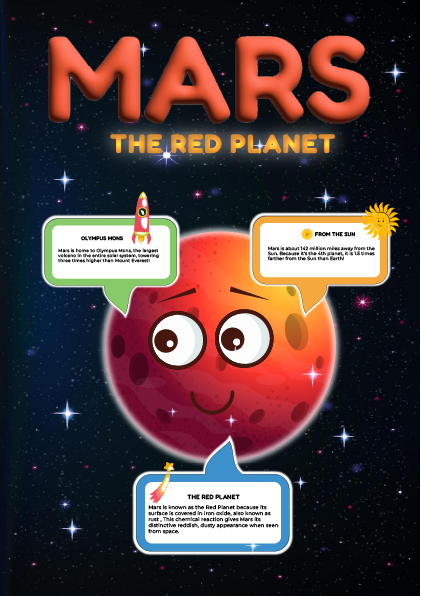
  • Mars used a red and brown rocky texture to represent its dusty surface.
  • Venus featured yellow and orange tones to reflect its dense atmospheric appearance.
  • Jupiter used a striped texture with strong colour variation to represent its gas structure.

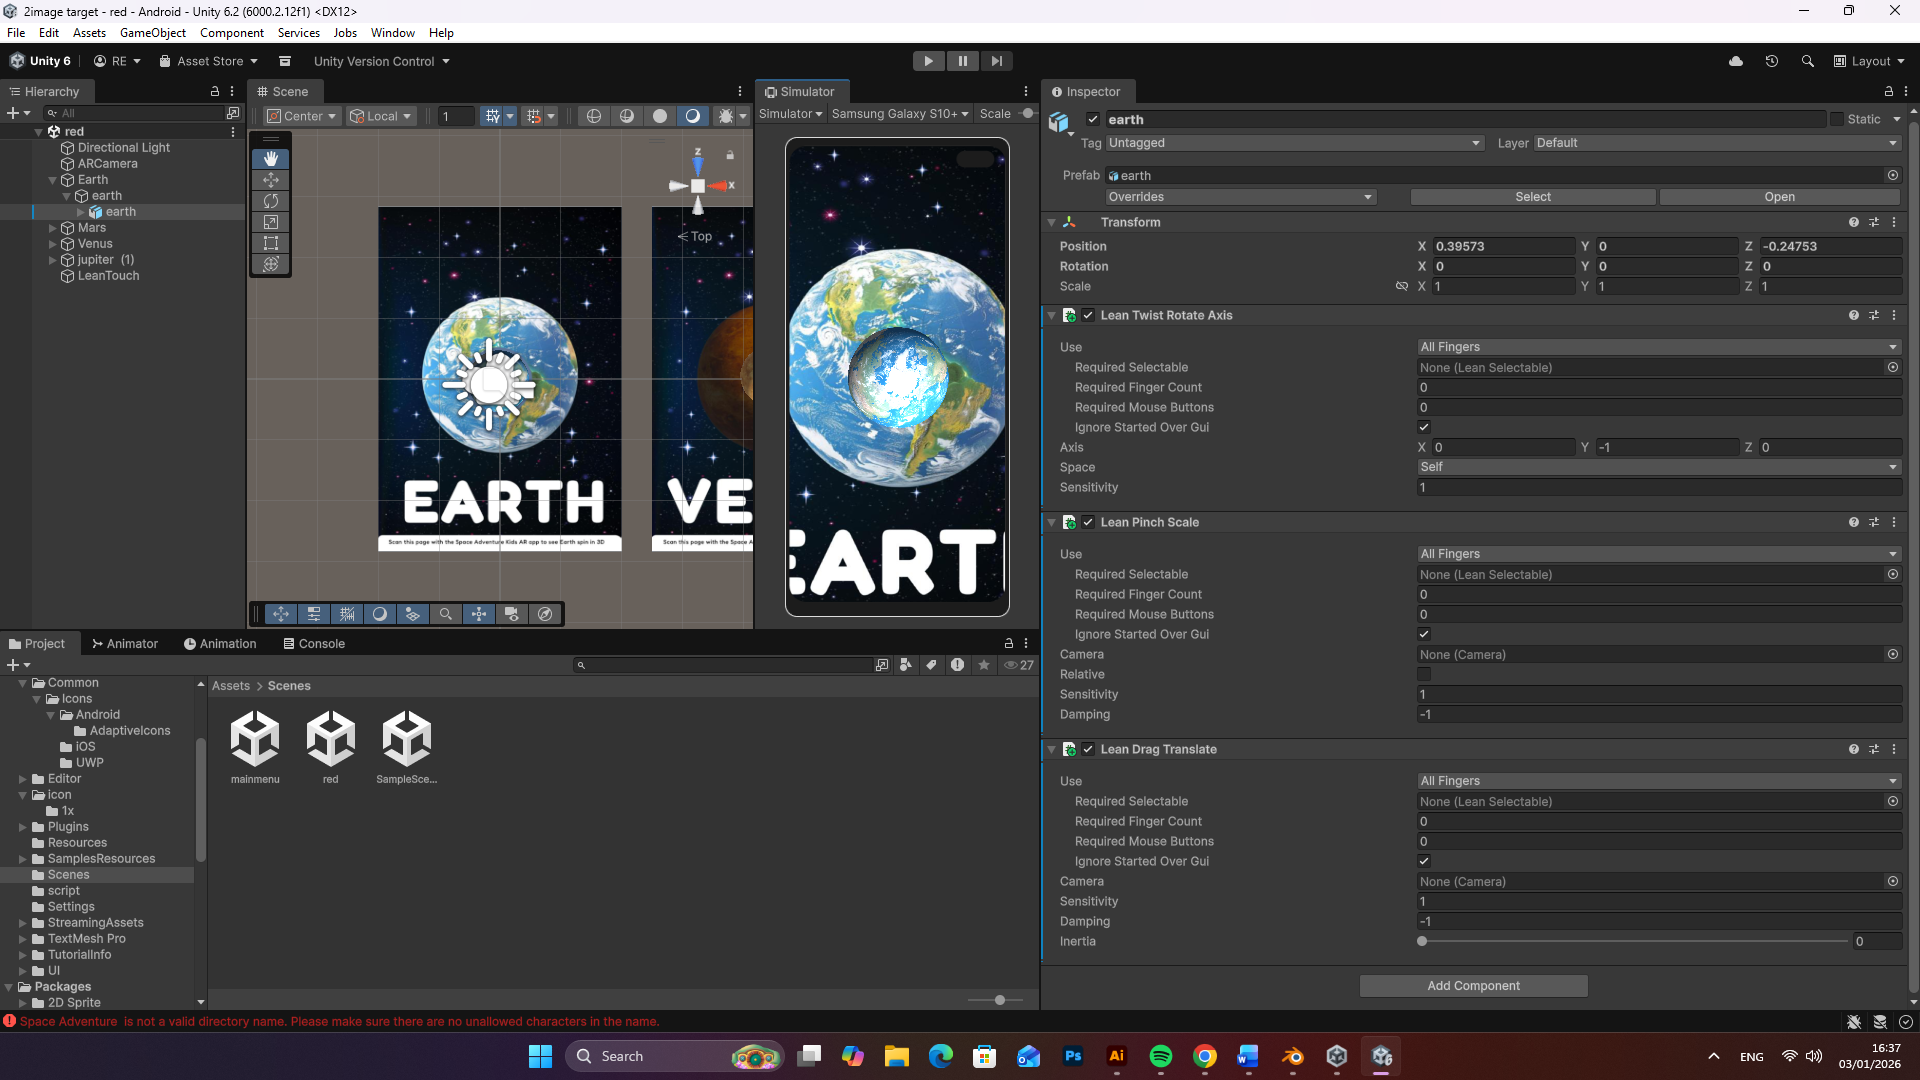
Once the textures were applied, I adjusted the material properties such as roughness and shading to balance realism with a slightly stylised look suitable for children aged 6–10. I also tested lighting within Blender to ensure the models remained clear and visually readable in an AR environment.

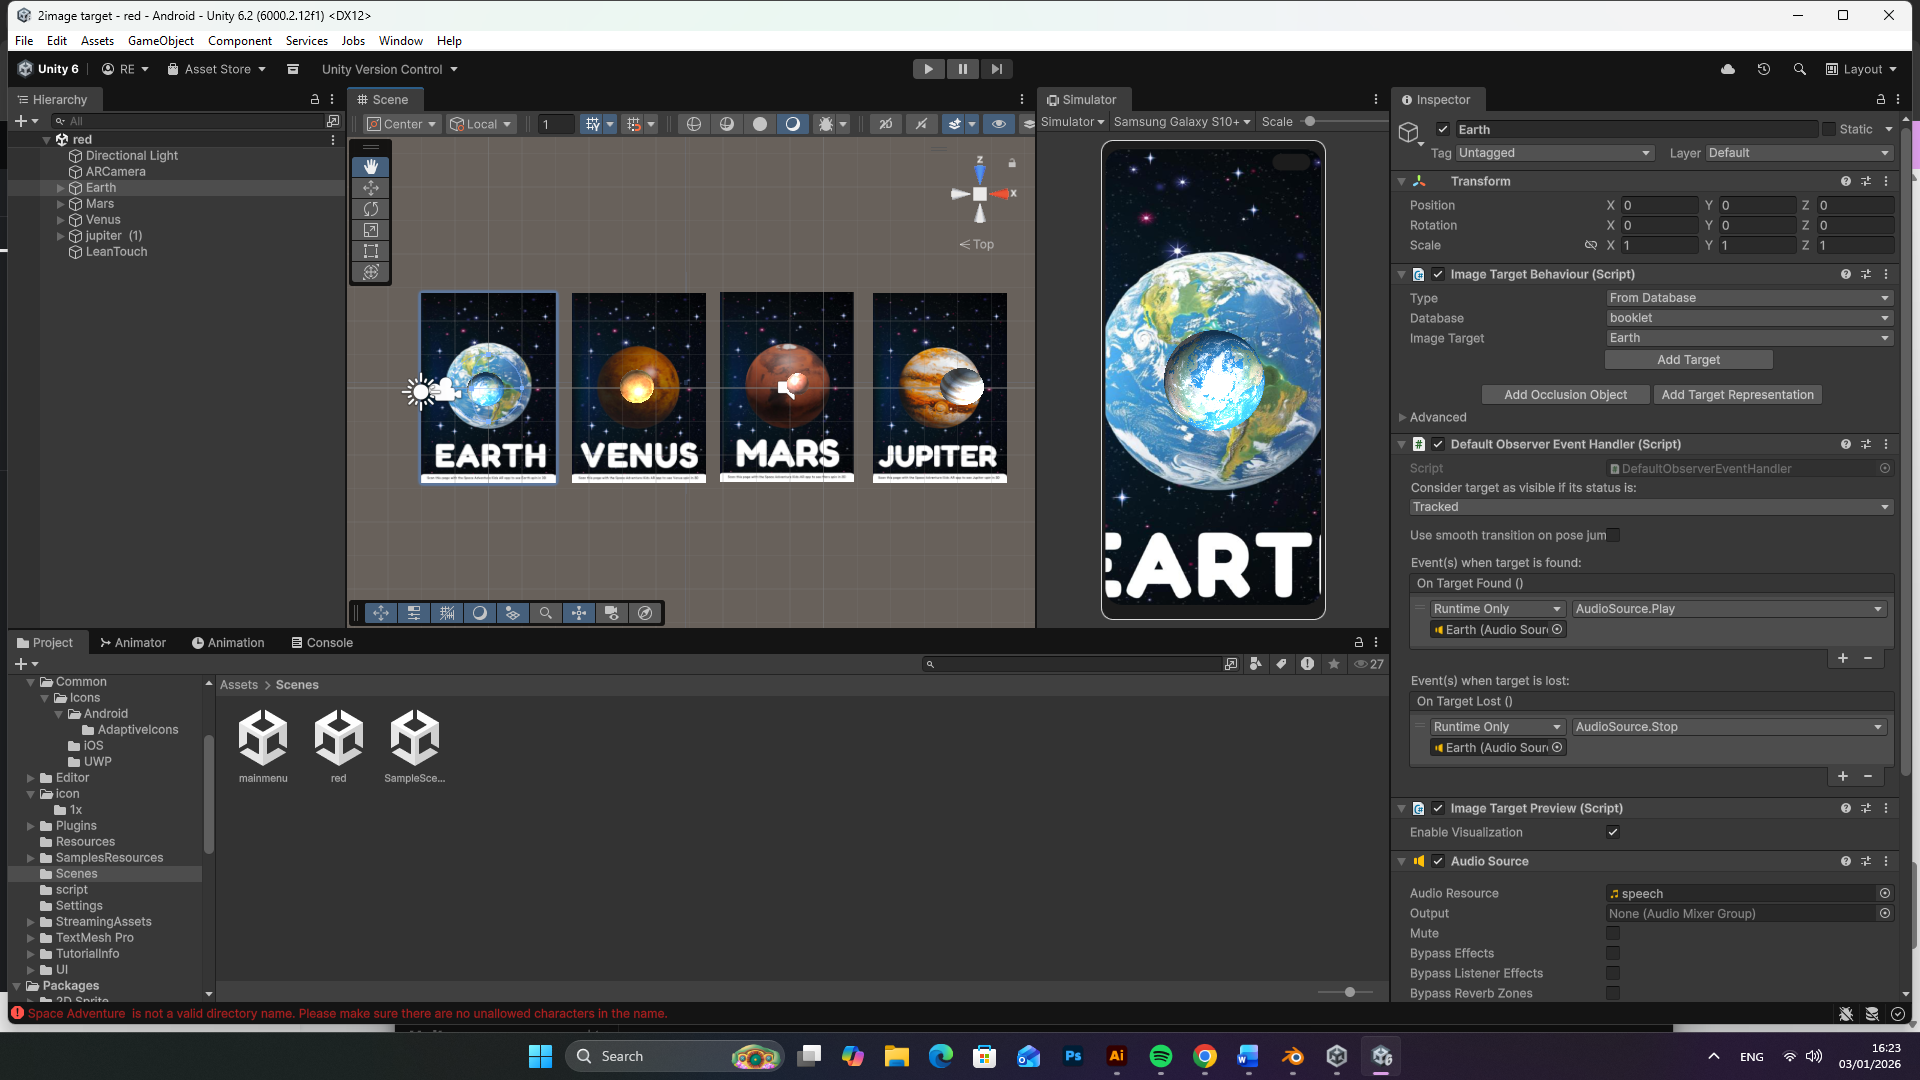
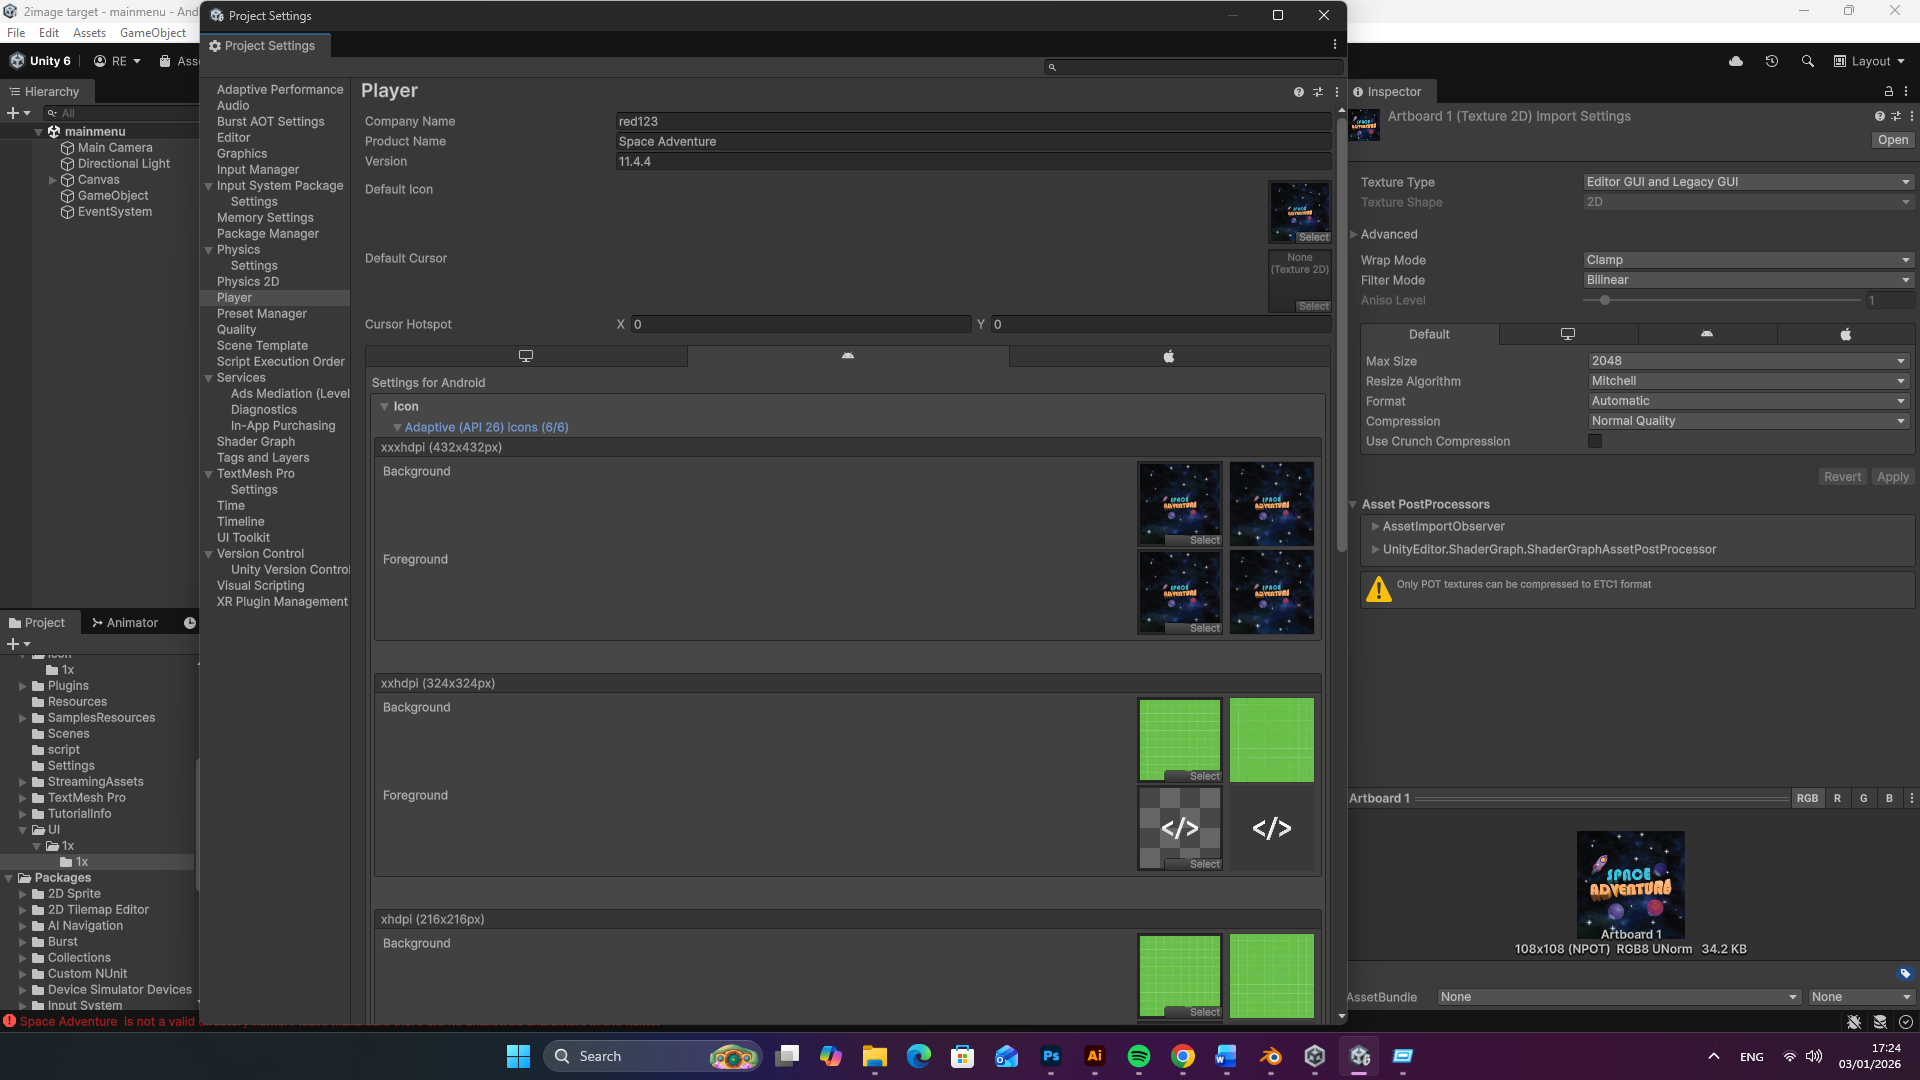
To prepare the models for use in Unity, I exported each planet as an FBX file, ensuring that the textures were correctly linked and embedded where possible. Exporting in FBX format allowed the models to be imported directly into Unity without issues related to scale, orientation, or missing materials.

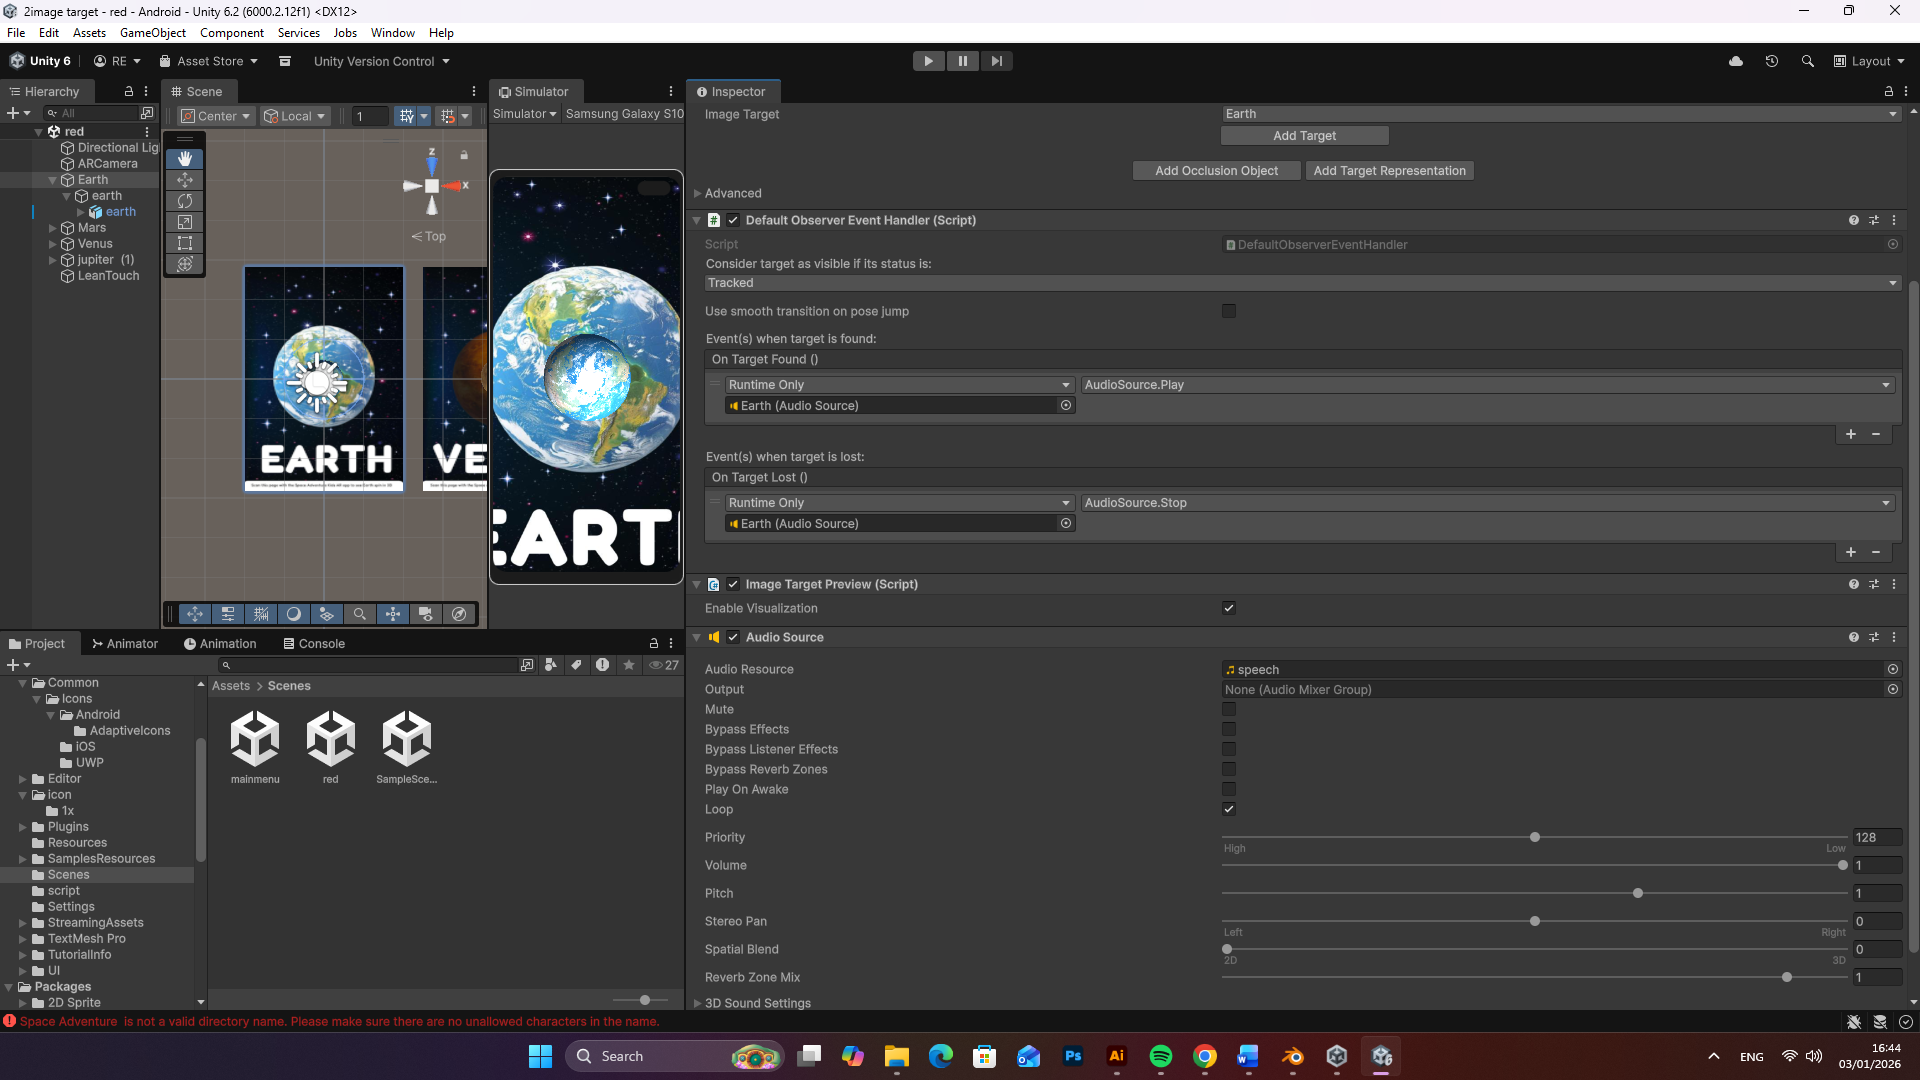
After importing the FBX files into Unity, I verified that the textures, materials, and scale were correctly applied and adjusted any settings if necessary. This step ensured that all 3D models were Unity-ready and functioned correctly when used with Vuforia image targets during the AR experience.


A screenshot of the Blender 4.3 interface showing a 3D Earth model being textured using a node-based shader editor.
A screenshot of the Blender 4.3 interface showing a 3D model of Mars being textured with an image map and a bump map in the shader editor.

Use of Adobe Illustrator – Visual Identity & Layout Design

I utilized Adobe Illustrator to develop the complete visual identity and layout system for the Space Adventure storybook, including the front cover, educational interior spreads, and back cover. Illustrator was my primary tool due to its powerful vector-based workflow, which ensured that all illustrations, typography, and interface elements remained crisp, scalable, and print-ready, while also being suitable for integration into the Augmented Reality (AR) environment.

This approach allowed me to maintain visual consistency across both physical and digital platforms, reinforcing the connection between the printed book and the interactive AR experience.

Visual Identity & Typography

To ensure the book is engaging, readable, and age appropriate for children aged 6–10, I carefully developed a typographic hierarchy that balances playfulness with clarity:

  • Headings: Set in Fredoka, a bold and rounded typeface that feels friendly, energetic, and inviting, helping to capture children’s attention.
  • Subheadings and Body Text: Set in Montserrat , chosen for its clean, geometric sans-serif structure, which improves readability for early readers and supports clear information delivery.

The colour palette was strategically selected to provide strong contrast against dark, space-themed backgrounds while maintaining a vibrant, child-friendly tone:

  • Cyan (#00BCD4): Used for Earth and water-related elements
  • Orange (#FF9800): Representing warmth, energy, and solar facts
  • Green (#87CB68): Highlighting life and terrestrial features
  • Blue (#3C90CC): Used for technical information boxes and atmospheric data

This consistent visual system helped guide the reader’s attention and made complex information easier to understand.

Layout Breakdown

  1. Front Cover

The front cover was designed as the primary visual hook for the audience. I used bold, 3D-styled typography for the “Space Adventure” title to create a sense of depth and excitement. The title acts as the central focal point, supported by illustrated elements such as planets, stars, and a rocket, which immediately communicate the space theme.

The composition is intentionally balanced to feel energetic without being overwhelming, encouraging curiosity while remaining visually clear for Kids readers.

Front Cover
  1. Interior Illustrated Spreads (Earth, Venus, Mars, Jupiter)

For the educational interior pages, I aimed to combine scientific learning with storytelling and character design.

  • Personification: Each planet is illustrated with friendly facial expressions, helping transform complex astronomical objects into relatable characters. This approach supports emotional engagement and makes learning more approachable for children.
  • Information Architecture: I designed speech-bubble-style callouts using colour-coded boxes, icons, and short text blocks. These break planetary facts (such as “Life’s Shield” for Earth or “Crushing Pressure” for Venus) into small, digestible sections that avoid overwhelming the reader.

AR Integration: Each spread includes a clear call-to-action footer, prompting users to scan the page using the Space Adventure Kids AR app. This strengthens the connection between the physical book and the digital 3D AR experience, encouraging exploration beyond the page.

Earth and an instruction to scan the page for an AR experience
Earth Fact Sheet
Mars and an instruction the page for an AR experience
Mars Fact Sheet
  1. Back Cover

The back cover maintains the overall visual consistency of the book, featuring a deep-space nebula background. It functions as a practical conclusion to the storybook by providing clear instructions and download links for the AR application on both the Apple App Store and Google Play Store.

This ensures the user journey feels complete, guiding readers smoothly from traditional reading into interactive AR learning.

Back Cover
Adobe Illustrator artboards designed as interactive AR triggers and educational fact sheets for the Space Adventure Kids app.

Unity & AR Development Workflow

I chose Unity as the main development platform for this project because of its strong support for Augmented Reality (AR), real-time 3D content, and mobile application development. During the research phase of my proposal, I explored different AR platforms to identify which one best suited an image-based AR storybook aimed at children aged 6–10. Unity stood out due to its flexibility, industry relevance, and seamless integration with AR plugins, particularly Vuforia.

Unity allowed me to bring together multiple elements of the project, including 3D models, image tracking, interaction controls, and audio narration, into one cohesive system. Its visual interface and component-based workflow made it easier to manage scenes, test interactions, and iterate on design decisions throughout development.

Main Scene
front Scene

Vuforia Engine (Image-Based AR)

Vuforia Engine was used as a plugin within Unity to enable image-based AR tracking. While researching suitable AR solutions during the proposal stage, I identified Vuforia as one of the most established and reliable tools for marker-based AR, with strong compatibility and long-term stability within Unity. This directly aligned with my project concept, which required physical book pages to trigger digital 3D content.

To begin, I registered on the Vuforia developer website and downloaded the Vuforia package for Unity. One major advantage of Vuforia was the availability of a free development licence, which allowed me to test and build the project without financial limitations. After generating the licence key, I added it directly into Unity through the Vuforia configuration settings.

A key stage of the workflow involved creating image targets. I uploaded my designed page images to Vuforia and generated a target database. These image targets act as markers that the AR system recognises when scanned through a mobile device.

Because image quality is critical for accurate tracking, I carefully designed the target images in Adobe Illustrator, combining:

  • High-resolution planet illustrations
  • Clear planet names
  • Strong contrast and unique visual features

This ensured that children could easily scan the pages, and that Vuforia could reliably recognise each target. Once the database was created, I exported it and imported it into Unity, linking each image target to its corresponding 3D planet model.

Vuforia also provides an AR Camera, which replaces Unity’s standard camera. I added this AR camera to the scene, enabling real-world camera input and allowing virtual 3D objects to appear anchored to the physical book pages.

vuforia Licence
Vuforia Engine Developer Portal showing the setup of a high-rating image target for the Earth AR page to ensure stable 3D tracking.
Vuforia Engine Target Manager

Lean Touch (3D Interaction)

To enhance user interaction, I integrated Lean Touch, an additional Unity plugin that enables intuitive touch-based controls. Lean Touch was used to allow users to:

  • Rotate the 3D planets
  • Scale (zoom in and out)
  • Drag models within the AR space

This interaction design was particularly important for children aged 6–10, as it encourages exploration through play and supports kinaesthetic learning. By using simple gestures, children can engage directly with the planets, making the AR experience more immersive and enjoyable.

Lean Touch components to enable interactive gestures—such as twist rotation, pinch scaling, and drag translation—for the Earth AR asset.

AI Audio Narration

In addition to visual interaction, I incorporated AI-generated audio narration to support accessibility and learning. The narration provides spoken explanations of planetary facts, reinforcing the educational content for children who may struggle with reading or prefer audio-based learning. By utilizing Quillbot’s AI text-to-speech technology, I transformed written facts into clear audio narrations to enhance engagement. The use of AI narration helps create a multisensory learning experience, combining visual, tactile, and auditory engagement, which aligns well with inclusive design principles and early learning strategie

Default Observer Event Handler configured to trigger the AI-generated audio narration automatically when the image target is scanned and recognized.

UI/UX Design & Application Flow

To prioritize usability and accessibility for my target audience, I developed a streamlined and intuitive menu system within Unity. This interface serves as the primary gateway to the application, and I specifically engineered it to guide children aged 6–10 through a seamless transition from the physical book to the digital experience. I chose to feature the “Start Adventure” call-to-action button prominently, using the brand’s signature orange (#FF9800) to ensure an immediate visual hierarchy and absolute clarity for the user. For the button text, I implemented the Poppins font, as its clean, geometric sans-serif properties provide the perfect balance of modern professionalism and readability for younger users.

I designed the menu background to utilize our established space nebula assets, featuring stylized planets and the rocket illustration to create an immediate sense of immersion before the AR experience even begins. To make the app as accessible as possible, I ensured the button has a large touch-target area to accommodate the motor skills of younger children, making the navigation frustration-free and self-explanatory.

main menu design for the Space Adventure app, featuring a "Start Adventure" button

Coding and link the two sense with the button

To bridge the gap between the design and the interactive experience, I focused on the technical implementation within Unity. Leveraging my computer science background, I found that while Unity offers a streamlined environment for scene creation and navigation, linking the mobile app’s menu system to the AR image target scene required a specific programmatic approach. When I installed Unity, I also set up Visual Studio as my integrated development environment, which allowed me to write the necessary logic to operate both screens efficiently.

After creating the “Start Adventure” button in the UI, I organized my project by creating a dedicated folder for my scripts. Within this folder, I authored a C# script titled MainMenuController. I utilized the UnityEngine.SceneManagement library to handle the transition logic. I wrote a public method called StartSpaceAdventure() that uses SceneManager.LoadScene(“red”) to trigger the switch from the main menu to the active AR scene. I also included a Debug.Log command to confirm the transition in the console for testing purposes. Finally, I attached this script as a component to my button object in the Unity Inspector and linked the “On Click” event to my function, ensuring the two scenes were perfectly connected and ready for the user.

Visual Studio code to link both scenes

Android icons

To complete the professional user experience, I designed a custom Android app icon in Adobe Illustrator that aligns with the project’s visual identity. I then integrated this icon within the Unity Player Settings, configuring the adaptive icon layers to ensure high-quality display across various mobile devices. This final step ensures that the ‘Space Adventure’ branding is consistent and recognizable for young users from the moment they look at their device’s home screen.

App Icon
Unity 6 Player Settings window showing the integration of the custom-designed Space Adventure brand icon for the Android platform

Adobe InDesign

I used Adobe InDesign to bring my entire “Space Adventure” project together into a professional, print-ready booklet. I began by setting up a document with A5 dimensions (148 mm x 210 mm) and enabled Facing Pages to create a natural reading flow for children. To ensure the final product looked polished and survived the physical printing process, I meticulously configured my margins to 15 mm at the top and bottom and 10 mm for the sides, while adding a 5 mm slug to accommodate printer registration data. This software was essential for me to organize my 12 pages of content, allowing me to perfectly align my educational fact sheets on the left with the high-resolution AR triggers on the right. InDesign helped me ensure that all my planetary renders, from Venus to Jupiter, maintained the high contrast and 300 DPI quality necessary for the Vuforia engine to track them effectively. Finally, I utilized the Adjust Layout and export tools to generate a Press Quality PDF, which guaranteed that all my colors were print-accurate and my fonts were properly embedded for the final production.

Adobe InDesign page spread
Page Setup
Booklet 1
Booklet 2

Pushing to Android

To bring my Space Adventure AR project to life, I first performed a platform switch in the Unity Build Profiles from Windows to Android, as my goal was specifically to develop an Android application. While I am an Android developer, I decided to purchase a separate, affordable Android phone specifically for this project and future work because I did not want to enable Developer Options on my primary phone due to potential security risks.

Once I had my dedicated testing device, I accessed the Player Settings to optimize the app for mobile performance. I carefully configured the Identification settings by setting the Minimum API Level to Android 10.0 (API level 29) to ensure proper compatibility. To maintain stability for the AR experience, I adjusted the Graphics API settings by removing Vulkan and selecting OpenGL ES3 as the primary rendering engine. After these configurations were finalized, I enabled Developer Options on my new dedicated phone and used the Build and Run feature to deploy the application directly through a USB connection.

Player Setting 1
Player Setting 2
Player Setting 3

AR Video

Portfolio/Production Piece Narrated Video

Reference list

  1. Unity Technologies (2019). Unity. [online] Unity. Available at: https://unity.com/.

  2. ‌developer.vuforia.com. (n.d.). Engine Developer Portal. [online] Available at: https://developer.vuforia.com/home.

  3. Unblast (2025). Minimal App Icon Mockup. [online] Unblast. Available at: https://unblast.com/minimal-app-icon-mockup/.

  4. Freepik. (2026). Mars texture Images – Free Download on Freepik. [online] Available at: https://www.freepik.com/free-photos-vectors/mars-texture [Accessed 4 Jan. 2026].

  5. Nhm.ac.uk. (2016). Planet Mars | Natural History Museum. [online] Available at: https://www.nhm.ac.uk/discover/planet-mars.html?utm_source=google&utm_campaign=news&utm_medium=grants&gad_source=1.

  6.  

    Quillbot.com. (2024). Text to Speech AI: Convert Text to Voice Instantly – QuillBot AI. [online] Available at: https://quillbot.com/tools/text-to-speech [Accessed 4 Jan. 2026].

Leave a Comment

Your email address will not be published. Required fields are marked *

Scroll to Top