What I Made in 360°
In a 360 Scene, the audience experiences three degrees of freedom, allowing them to freely look in any direction left, right, up, down, or even behind. The content remains fixed in its position relative to the viewer, maintaining its place no matter how the user moves their viewpoint. (hololink, 2025)
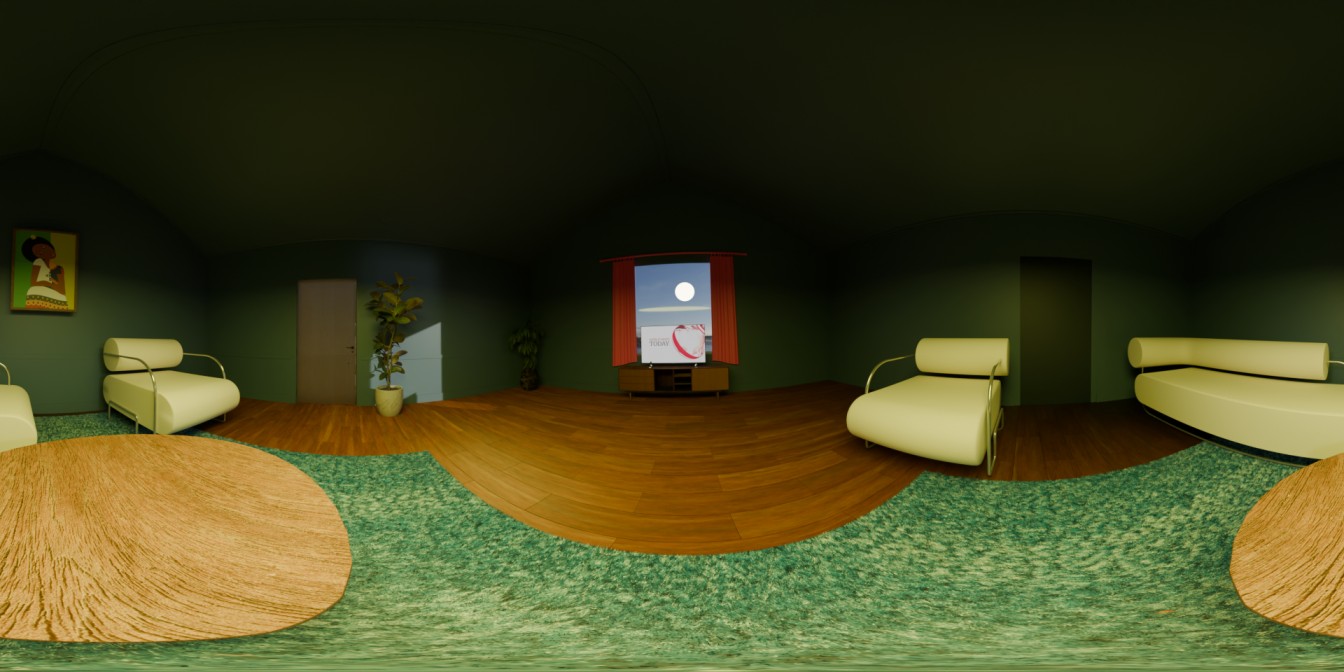
For my 360 project, I created a fully rendered interior living room scene in Blender, designed to be viewed in an immersive 360° environment. The aim was to explore how space, light, and composition affect how users experience comfort, balance, and realism inside a virtual setting.
Rather than following the basic classroom example, I went beyond by combining original 3D models I created myself with a selection of free downloaded assets to build a cohesive and believable environment. I modelled some of the key elements such as the furniture layout, the window, and decorative details to reflect my own design style. I then incorporated a few pre made assets like plants and props to enhance the realism and save production time while maintaining consistency in lighting and material design.
The scene places the viewer at the centre of the room, allowing a 360° panoramic perspective of the environment. I focused on creating a calm, reflective mood through lighting and composition, using warm tones for the wooden floor and furniture to contrast against the cooler green walls. The moonlight shining through the window and its faint reflection on the floor serve as the main focal point, adding a subtle narrative element suggesting stillness and night-time calm.
By combining my own designs with downloaded elements, I was able to experiment with both technical modeling skills and environmental storytelling. This process helped me understand how object placement, lighting, and atmosphere can be used to create emotional depth and spatial realism in a 360° scene.
How I Thought About Space, Light, Sound, and Colour
When designing my 360° scene, I carefully considered how space, light, and colour could shape the user’s emotional response and sense of immersion inside the environment. My goal was to create a calm, balanced interior that feels realistic but still stylised, using layout and lighting to guide the viewer’s attention naturally within the space.
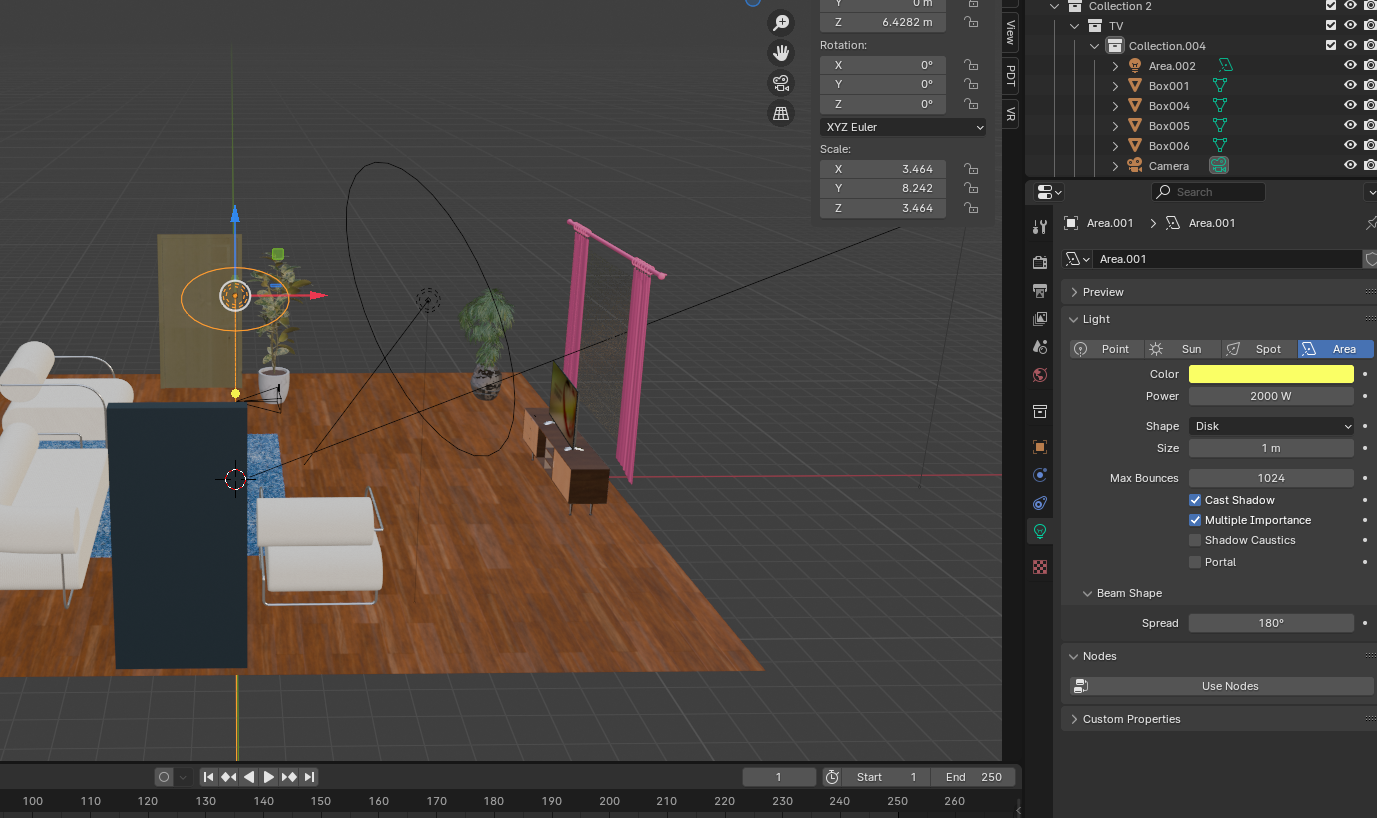
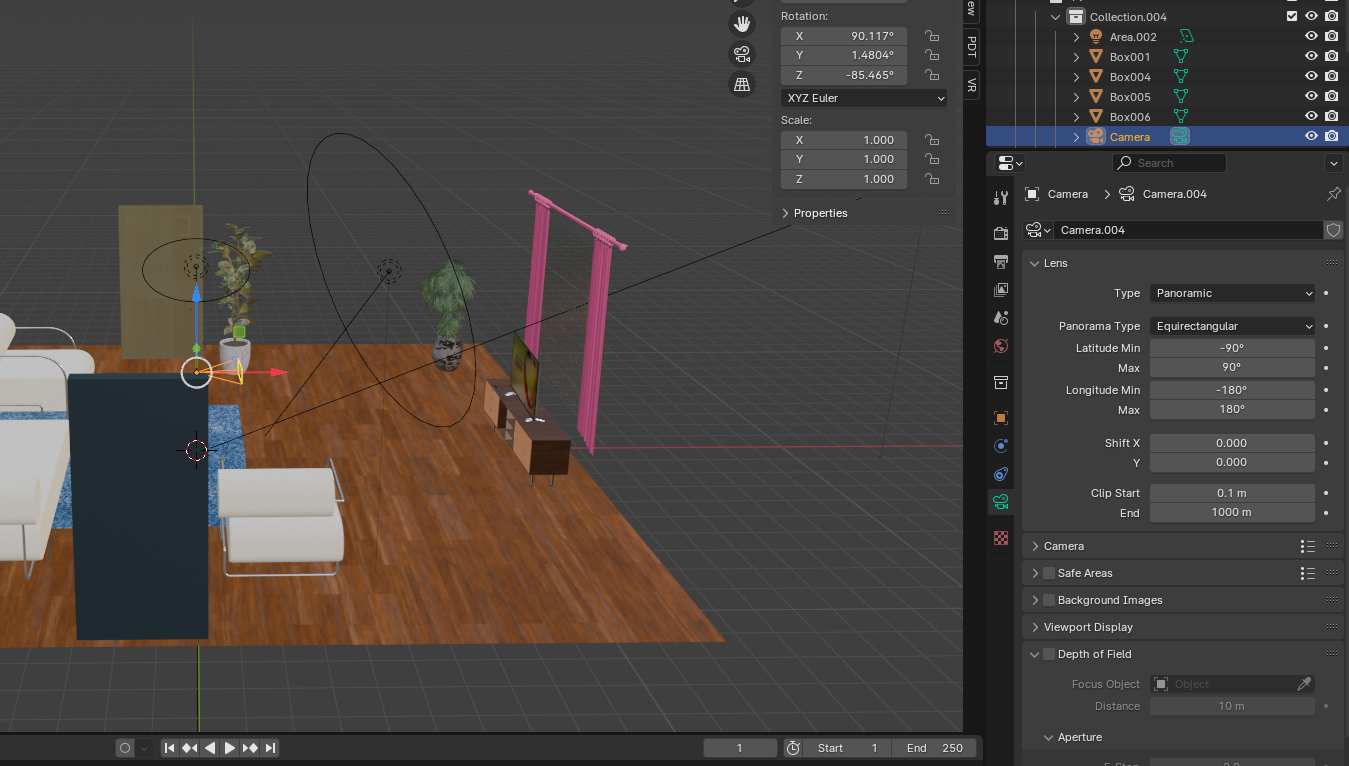
In terms of space, I positioned the camera at the centre of the room with a panoramic equirectangular lens, allowing a full 360° view. I arranged the furniture symmetrically around the camera to maintain balance and prevent disorientation a key VR UX principle that helps users stay oriented and comfortable. The viewer is always surrounded by meaningful visual elements such as chairs, plants, and windows, ensuring there are no “empty” areas in the experience.
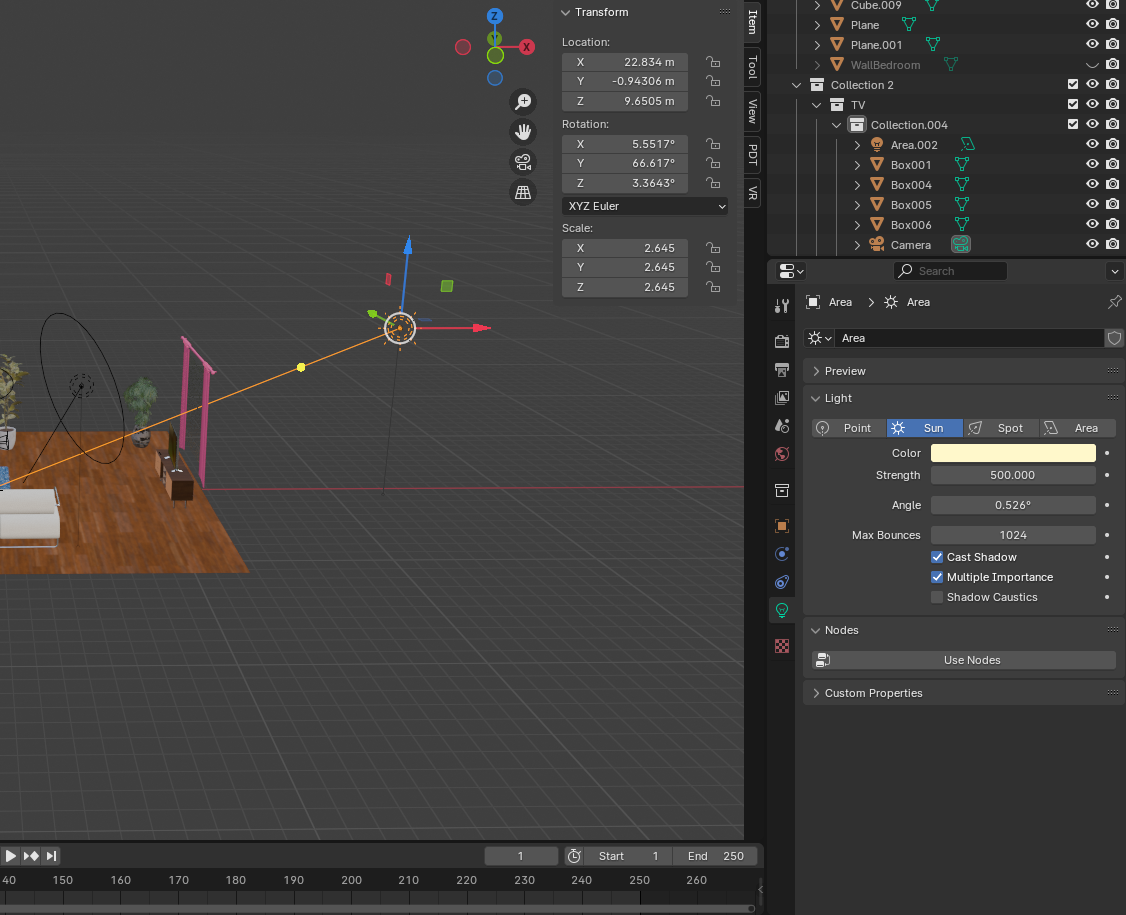
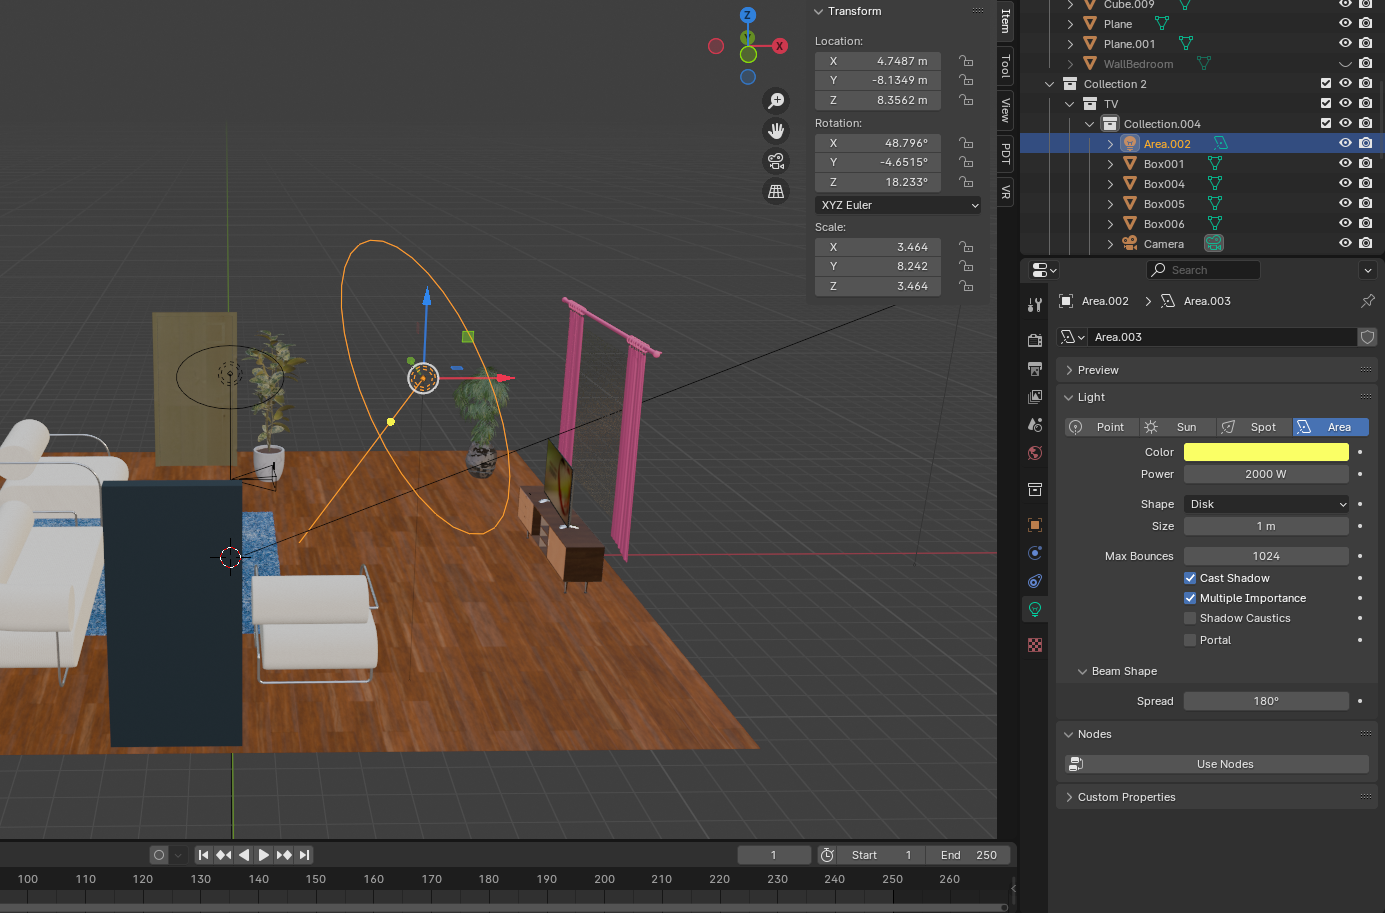
Lighting played a major role in setting the mood. I used a Sun Lamp to simulate moonlight coming through the window and several Area Lights for soft interior illumination. By adjusting their strength and angle, I created realistic shadows and subtle reflections that give depth to the room. The light setup intentionally avoids harsh brightness or deep darkness, following VR comfort guidelines to reduce eye strain in immersive viewing.
For colour design, I used a palette of cool green walls and warm wooden floors, complemented by White furniture and curtains. This combination balances warmth and coolness, evoking a sense of comfort while keeping the environment visually engaging. The colours also help with spatial readability, allowing users to distinguish objects easily within the 360° view.
For my 360° project, I created a 360 rendered scene in Blender and used it to produce an immersive video experience. Due to my computer’s limited specifications, I focused on rendering a high-quality 360 image rather than a full animation. Once the render was complete, I imported the image into Adobe After Effects, where I applied the CC Environment effect to convert the still image into a navigable 360° space.
Using a virtual camera inside After Effects, I simulated movement and recorded a smooth panoramic rotation around the environment. This approach allowed me to create the illusion of being inside the 3D scene without requiring heavy rendering power from Blender. After refining the motion and atmosphere, I exported the sequence as a 360° video and uploaded it to YouTube, where viewers can explore the scene interactively.
This workflow helped me understand how to present 3D environments in a 360 format using accessible tools. It was also a practical way to test spatial composition, lighting, and realism while working within technical limitations. The final result demonstrates how even a static render can become an immersive storytelling experience through creative post-production techniques.
Frame VR.
In my FrameVR.io gallery, I wanted users to feel as though they were really visiting a modern exhibition space. The layout and lighting create a calm, professional atmosphere where the focus is on the visual experience itself. As users enter, clear navigation arrows and visual cues guide them through the gallery, helping them understand that it’s a structured yet relaxing experience before they begin to explore freely.
I designed the space to feel intentional and easy to navigate, so viewers can take their time and engage with each displayed element. The warm wooden flooring and open layout add to the sense of realism and comfort, making the environment feel both familiar and inviting.
Another key aspect I focused on was the social and interactive element of FrameVR.io. Allowing multiple users to join at once turns the gallery into a shared space where people can move around, interact, and discuss what they see. This makes the experience feel more engaging and meaningful, blending digital exploration with a sense of human presence
Reference list
hololink (2025). How to use 360 Augmented Reality Experiences with Hololink’s AR Editor. [online] Hololink.io. Available at: https://www.hololink.io/blog-posts-hololink/360-augmented-reality-experiences-with-hololinks-ar-editor [Accessed 2 Nov. 2025].